Using Bluetooth earbuds the right way helps them last longer. It also makes sure they work well every time. Proper usage includes charging them correctly, storing them safely, and following the manual. Many earbuds have different ways to turn on, so understanding the process is important. If used properly, they connect quickly and give a good listening experience.
Sometimes, earbuds do not turn on due to low battery or incorrect handling. A drained battery is the most common reason. Dust or dirt in the charging port can also cause issues. Some earbuds need a long press on the power button, while others turn on automatically. If they still don’t work, resetting them might help.
Table of Contents
Checking the Earbuds’ Battery
Before turning on Bluetooth earbuds, it is important to check the battery. If the battery is low, the earbuds may not work properly or fail to turn on. Most earbuds come with a charging case that has a light indicator. A red or blinking light usually means the battery is low. If this happens, placing the earbuds in the case and charging them for at least 10–15 minutes can help. Using the correct charging cable and adapter ensures proper charging.
Sometimes, earbuds do not charge due to dirt or dust in the charging port. A blocked connection can prevent the earbuds from getting power. Cleaning the charging points with a soft cloth or brush can solve this issue. If the problem continues, checking the charging cable and adapter is a good idea. A damaged cable may not deliver power properly.
Some earbuds also have a reset option that can fix charging problems. Holding the reset button or following the manufacturer’s steps can help restore proper function. A fully charged battery ensures the earbuds turn on smoothly and work without interruptions.
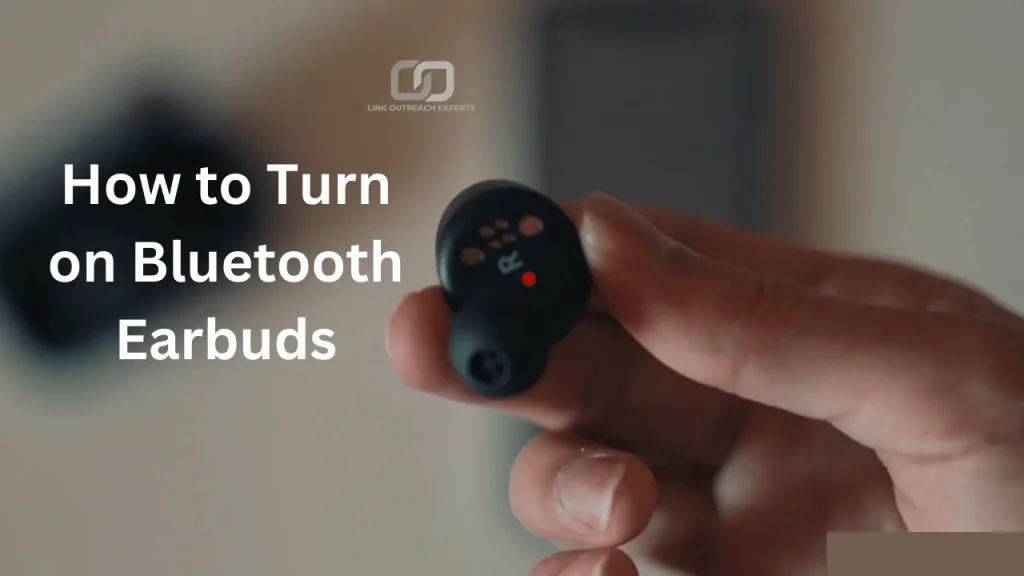
Locating the Power Button
Finding the power button is the first step in turning on Bluetooth earbuds. Different brands and models have different designs, so the button may not always be in the same place. Most earbuds have the power button on the outer surface or side. Some models use a touch-sensitive area instead of a physical button. Checking the user manual can help locate the power control quickly.
Some earbuds turn on automatically when removed from the charging case. Others require pressing and holding the power button for a few seconds. If the earbuds do not turn on, trying a longer press may work. The LED indicator usually lights up to show they are powered on. New to Bluetooth earbuds? Read how to wear wireless earbuds properly to get started.
In some cases, the power button is combined with other functions, such as play/pause or pairing mode. Understanding how the button works helps avoid confusion. If unsure, following the manufacturer’s instructions ensures proper operation.
Turning on the Earbuds
Turning on Bluetooth earbuds depends on the model. Some earbuds power on automatically when taken out of the charging case. Others need to be turned on manually by pressing and holding the power button. The button is usually on the side or surface of the earbuds. Holding it for a few seconds activates the earbuds, and an LED light or sound confirms they are on.
If the earbuds do not turn on, checking the battery is important. A low battery can prevent them from working. Placing them in the charging case for a few minutes may help. Some models also have a reset option that can fix power issues.
In some cases, the earbuds might require pressing multiple buttons at once. Checking the manual can provide the correct steps. Once turned on, the earbuds are ready to connect to a device for use.
Common LED Light Signals
Power and Pairing Indicators
LED lights on Bluetooth earbuds indicate different statuses. When turning them on, a white or blue light usually flashes, showing they are powered up. A blinking light often means the earbuds are in pairing mode, ready to connect to a device. If the light stays solid without blinking, the earbuds are connected to a phone, tablet, or computer. Some earbuds also play a sound when they turn on or connect successfully.
Low Battery and Charging Signals
A red or orange light often signals a low battery. If the earbuds do not turn on and show this color, they need charging. Some models blink red while charging and turn white, green, or blue when fully charged. Others may show a pulsing light while charging and turn off when fully charged. Checking the manual helps understand the specific light meanings for each model. Keeping the earbuds charged ensures they function properly without interruptions.
Error and Troubleshooting Indicators
Sometimes, earbuds flash different colors in a pattern to indicate an issue. Rapid blinking or alternating red and blue lights may mean a connection error or failed pairing attempt. Some earbuds may also flash a different color when there is a hardware problem. In such cases, resetting the earbuds or placing them back in the charging case for a few seconds can help. Understanding LED signals makes troubleshooting easier and ensures proper use without confusion.
Solving Power Issues
Checking the Battery Level
If the earbuds do not turn on, the first thing to check is the battery. A low or drained battery is a common reason for power issues. Placing the earbuds in the charging case for at least 10–15 minutes can help. Some cases have an LED indicator that shows the charging status. If the earbuds still don’t turn on, ensuring the case itself is charged is important.
Cleaning the Charging Contacts
Dirt or dust on the charging points can prevent proper charging. If the earbuds are not responding, wiping the metal contacts with a dry cloth or a cotton swab can help. It is also good to check if the charging case has debris blocking the connection. A clean charging port ensures the earbuds receive power properly.
Resetting the Earbuds
If the earbuds have enough charge but still do not turn on, performing a reset can fix the issue. Many models have a reset button or require pressing and holding a combination of buttons for a few seconds. Resetting clears any minor software glitches and helps restore normal function. Checking the manual for the correct reset process is recommended.
Checking for Physical Damage
If the earbuds do not respond even after charging and resetting, checking for physical damage is necessary. A damaged charging case, broken power button, or faulty battery could be the cause. In such cases, contacting customer support or considering a replacement may be the best option. Proper care and handling help avoid these issues in the future.
Conclusion
Turning on Bluetooth earbuds is simple when you follow the right steps. Checking the battery, locating the power button, and understanding LED signals help ensure a smooth start. If the earbuds do not turn on, charging them or resetting them can fix common issues. Proper handling keeps them working well for a long time.
If problems continue, checking the manual or contacting support may be needed. Keeping the charging contacts clean and using the correct charger also helps prevent power issues. With proper care and use, Bluetooth earbuds provide a great listening experience without trouble.